In this step-by-step tutorial, you will learn how to deploy React application to the Firebase Hosting.
Firebase Hosting provides fast and secure hosting for your web app, static and dynamic content, and microservices.
Initial setup
We are going to need an application which we are going to deploy. For the demonstration purposes, I'm going to scaffold a new create-react-app application and name it as deploy-cra-to-firebase.
$ npx create-react-app deploy-cra-to-firebase

$ cd deploy-cra-to-firebase
Install Firebase CLI
Next step is to install the Firebase CLI (actually its called firebase-tools, but I still reference it as firebase-cli for some reason) which provides a variety of tools for managing, viewing, and deploying to Firebase projects.
$ npm install -g firebase-tools
Firebase login
In order to use a Firebase Hosting, you need to have an account for it. So you will need either create a new one or use the existing one. When it's sorted, just run next command and proceed with the sign-in flow until its complete.
$ firebase login
Firebase project and hosting setup
Now it's the time to initialise Firebase. You will be asked a variety of questions related to the project and hosting setup. Don't worry if you made a mistake while completing this step. You can amend those settings except unique project id.
I've used deploy-my-cra-to-firebase for both Project ID and Project Name.
$ firebase init
Keep in mind for these important questions in Firebase Hosting section:
- What do you want to use as your public directory?
build - Configure as a single-page app (rewrite all urls to
/index.html)Yes
$ firebase init

     ######## #### ########  ######## ########     ###     ######  ########
     ##        ##  ##     ## ##       ##     ##  ##   ##  ##       ##
     ######    ##  ########  ######   ########  #########  ######  ######
     ##        ##  ##    ##  ##       ##     ## ##     ##       ## ##
     ##       #### ##     ## ######## ########  ##     ##  ######  ########

You're about to initialize a Firebase project in this directory:

  /Users/edvinsantonovs/Documents/repos/deploy-cra-to-firebase

? Which Firebase CLI features do you want to set up for this folder? Press
Space to select features, then Enter to confirm your choices. Hosting: Configure and deploy Firebase Hosting sites

=== Project Setup

First, let's associate this project directory with a Firebase project.
You can create multiple project aliases by running firebase use --add,
but for now we'll just set up a default project.

? Please select an option: Create a new project
i  If you want to create a project in a Google Cloud organization or folder, please use "firebase projects:create" instead, and return to this command when you've created the project.
? Please specify a unique project id (warning: cannot be modified afterward
) [6-30 characters]:
 deploy-my-cra-to-firebase
? What would you like to call your project? (defaults to your project ID)
✔ Creating Google Cloud Platform project
✔ Adding Firebase resources to Google Cloud Platform project

🎉🎉🎉 Your Firebase project is ready! 🎉🎉🎉

Project information:
   - Project ID: deploy-my-cra-to-firebase
   - Project Name: deploy-my-cra-to-firebase

Firebase console is available at
https://console.firebase.google.com/project/deploy-my-cra-to-firebase/overview
i  Using project deploy-my-cra-to-firebase (deploy-my-cra-to-firebase)

=== Hosting Setup

Your public directory is the folder (relative to your project directory) that
will contain Hosting assets to be uploaded with firebase deploy. If you
have a build process for your assets, use your build's output directory.

? What do you want to use as your public directory? build
? Configure as a single-page app (rewrite all urls to /index.html)? Yes
? File build/index.html already exists. Overwrite? Yes
✔  Wrote build/index.html

i  Writing configuration info to firebase.json...
i  Writing project information to .firebaserc...

✔  Firebase initialization complete!
When setup is complete, you should see auto-generated firebase.json and .firebaserc files which look like this.
firebase.json
{
  "hosting": {
    "public": "build",
    "ignore": ["firebase.json", "**/.*", "**/node_modules/**"],
    "rewrites": [
      {
        "source": "**",
        "destination": "/index.html"
      }
    ]
  }
}
.firebaserc
{
  "projects": {
    "default": "deploy-my-cra-to-firebase"
  }
}
Build
Now it's the time to build our React app and make it ready to be deployed. In order to do so, make sure you are located in the correct folder - deploy-cra-to-firebase. Then all you need to do is to run the next command.
$ yarn build
You should see the build process in the console. When it's done, we can proceed to our final step.
yarn run v1.22.4
$ react-scripts build
Creating an optimized production build...
Compiled successfully.

File sizes after gzip:

  39.4 KB  build/static/js/2.107361f6.chunk.js
  784 B    build/static/js/runtime-main.722af0ec.js
  655 B    build/static/js/main.c1df01c6.chunk.js
  547 B    build/static/css/main.5f361e03.chunk.css

The project was built assuming it is hosted at /.
You can control this with the homepage field in your package.json.

The build folder is ready to be deployed.
You may serve it with a static server:

  yarn global add serve
  serve -s build

Find out more about deployment here:

  bit.ly/CRA-deploy

✨  Done in 11.83s.
Firebase deploy
This is the final step we need to do, but before doing it, make sure you have /build folder is created by yarn build. Then run the next command.
$ firebase deploy
Once again, you can see the deployment process in the console.
=== Deploying to 'deploy-my-cra-to-firebase'...

i  deploying hosting
i  hosting[deploy-my-cra-to-firebase]: beginning deploy...
i  hosting[deploy-my-cra-to-firebase]: found 19 files in build
✔  hosting[deploy-my-cra-to-firebase]: file upload complete
i  hosting[deploy-my-cra-to-firebase]: finalizing version...
✔  hosting[deploy-my-cra-to-firebase]: version finalized
i  hosting[deploy-my-cra-to-firebase]: releasing new version...
✔  hosting[deploy-my-cra-to-firebase]: release complete

✔  Deploy complete!

...
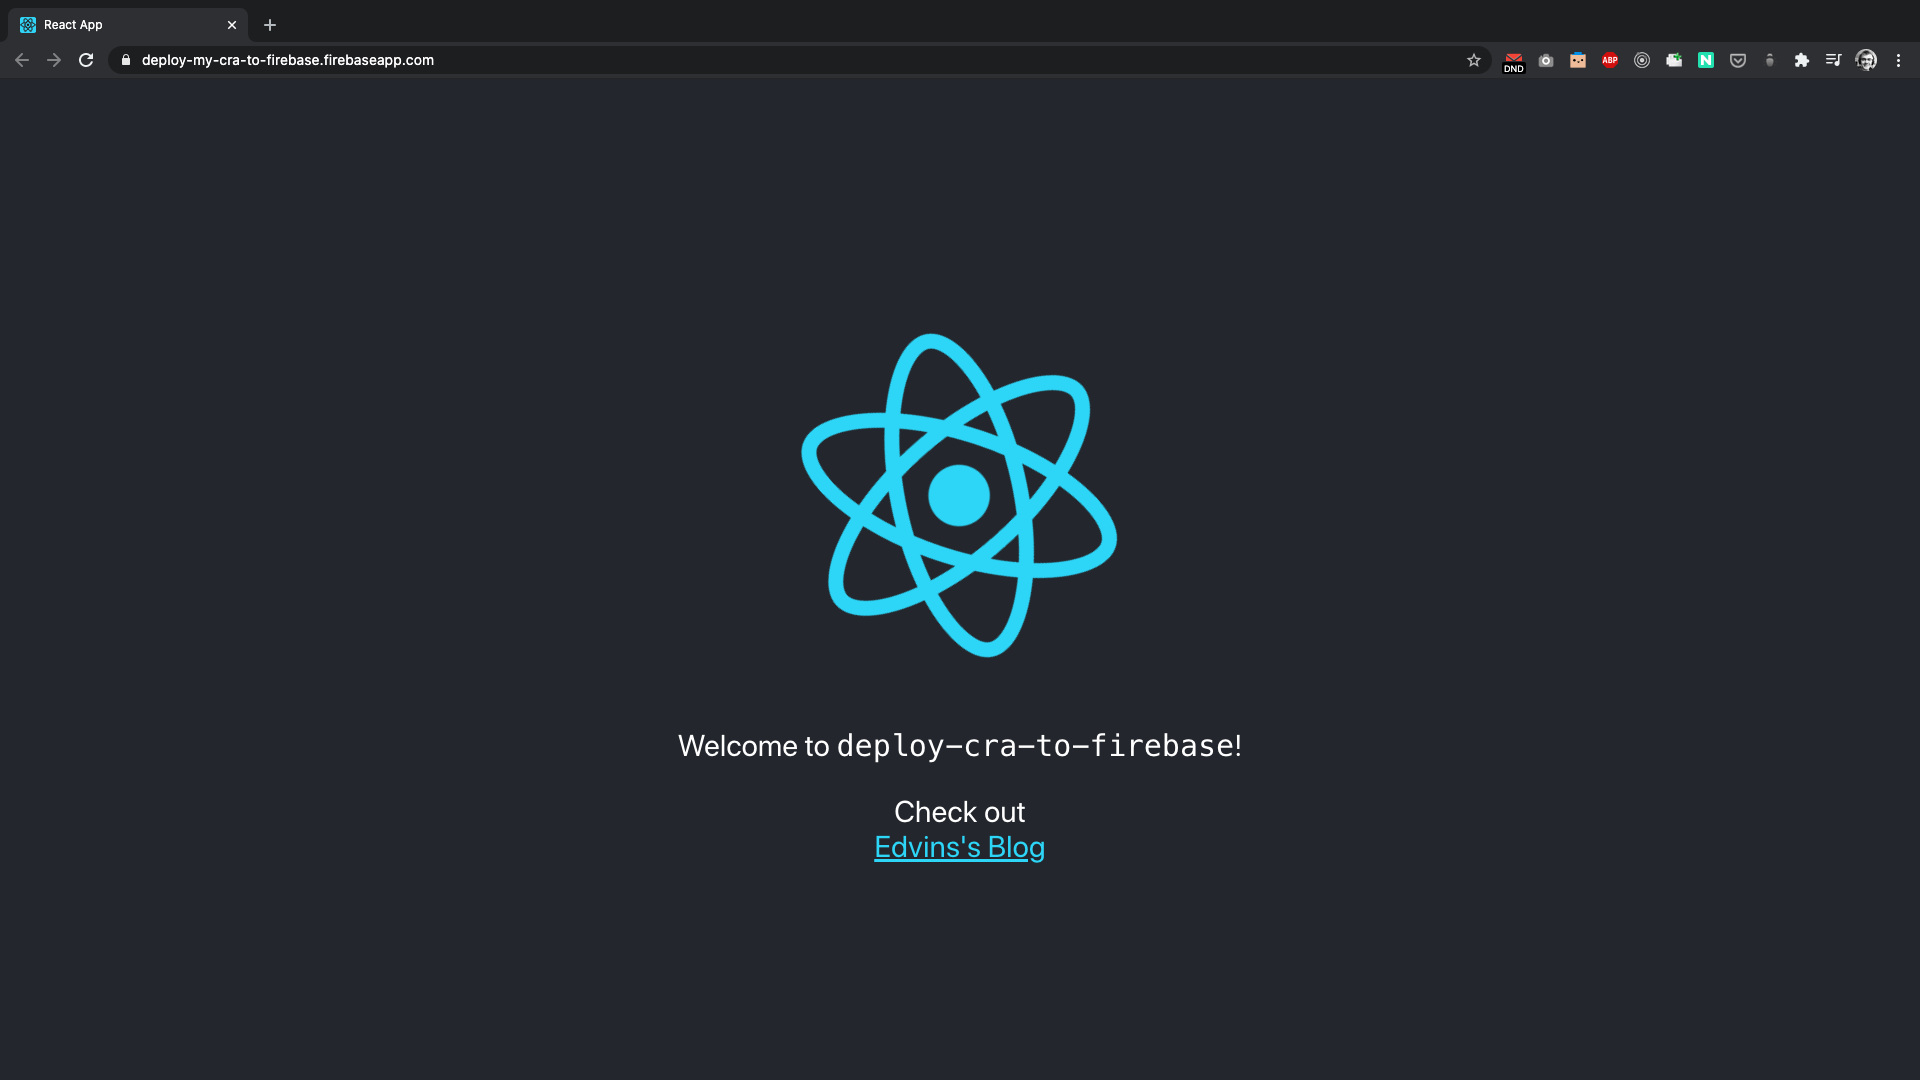
When it's done, you will be able to access your fresh deployment React application:
✨ Congrats, you've made it!