Recently, I've discovered redux-toolkit which is the official, opinionated, batteries-included toolset for efficient Redux development. It's intended to be the standard way to write Redux logic. Moreover, redux template for create-react-app is now using redux-toolkit by default.
Today, I'd like to share a way to use redux-persist with redux-toolkit. redux-persist gives us an ability to save Redux store in the Local Storage of the browser. Effectively, when you press the refresh page button in your browser, your storage will remain the same. Obviously, you can define how many levels or which parts of your store you want to make persistent.
Initial setup
I will use a fresh copy of the create-react-app with redux-toolkit built-in and jump straight to the action.
npx create-react-app my-app --template redux
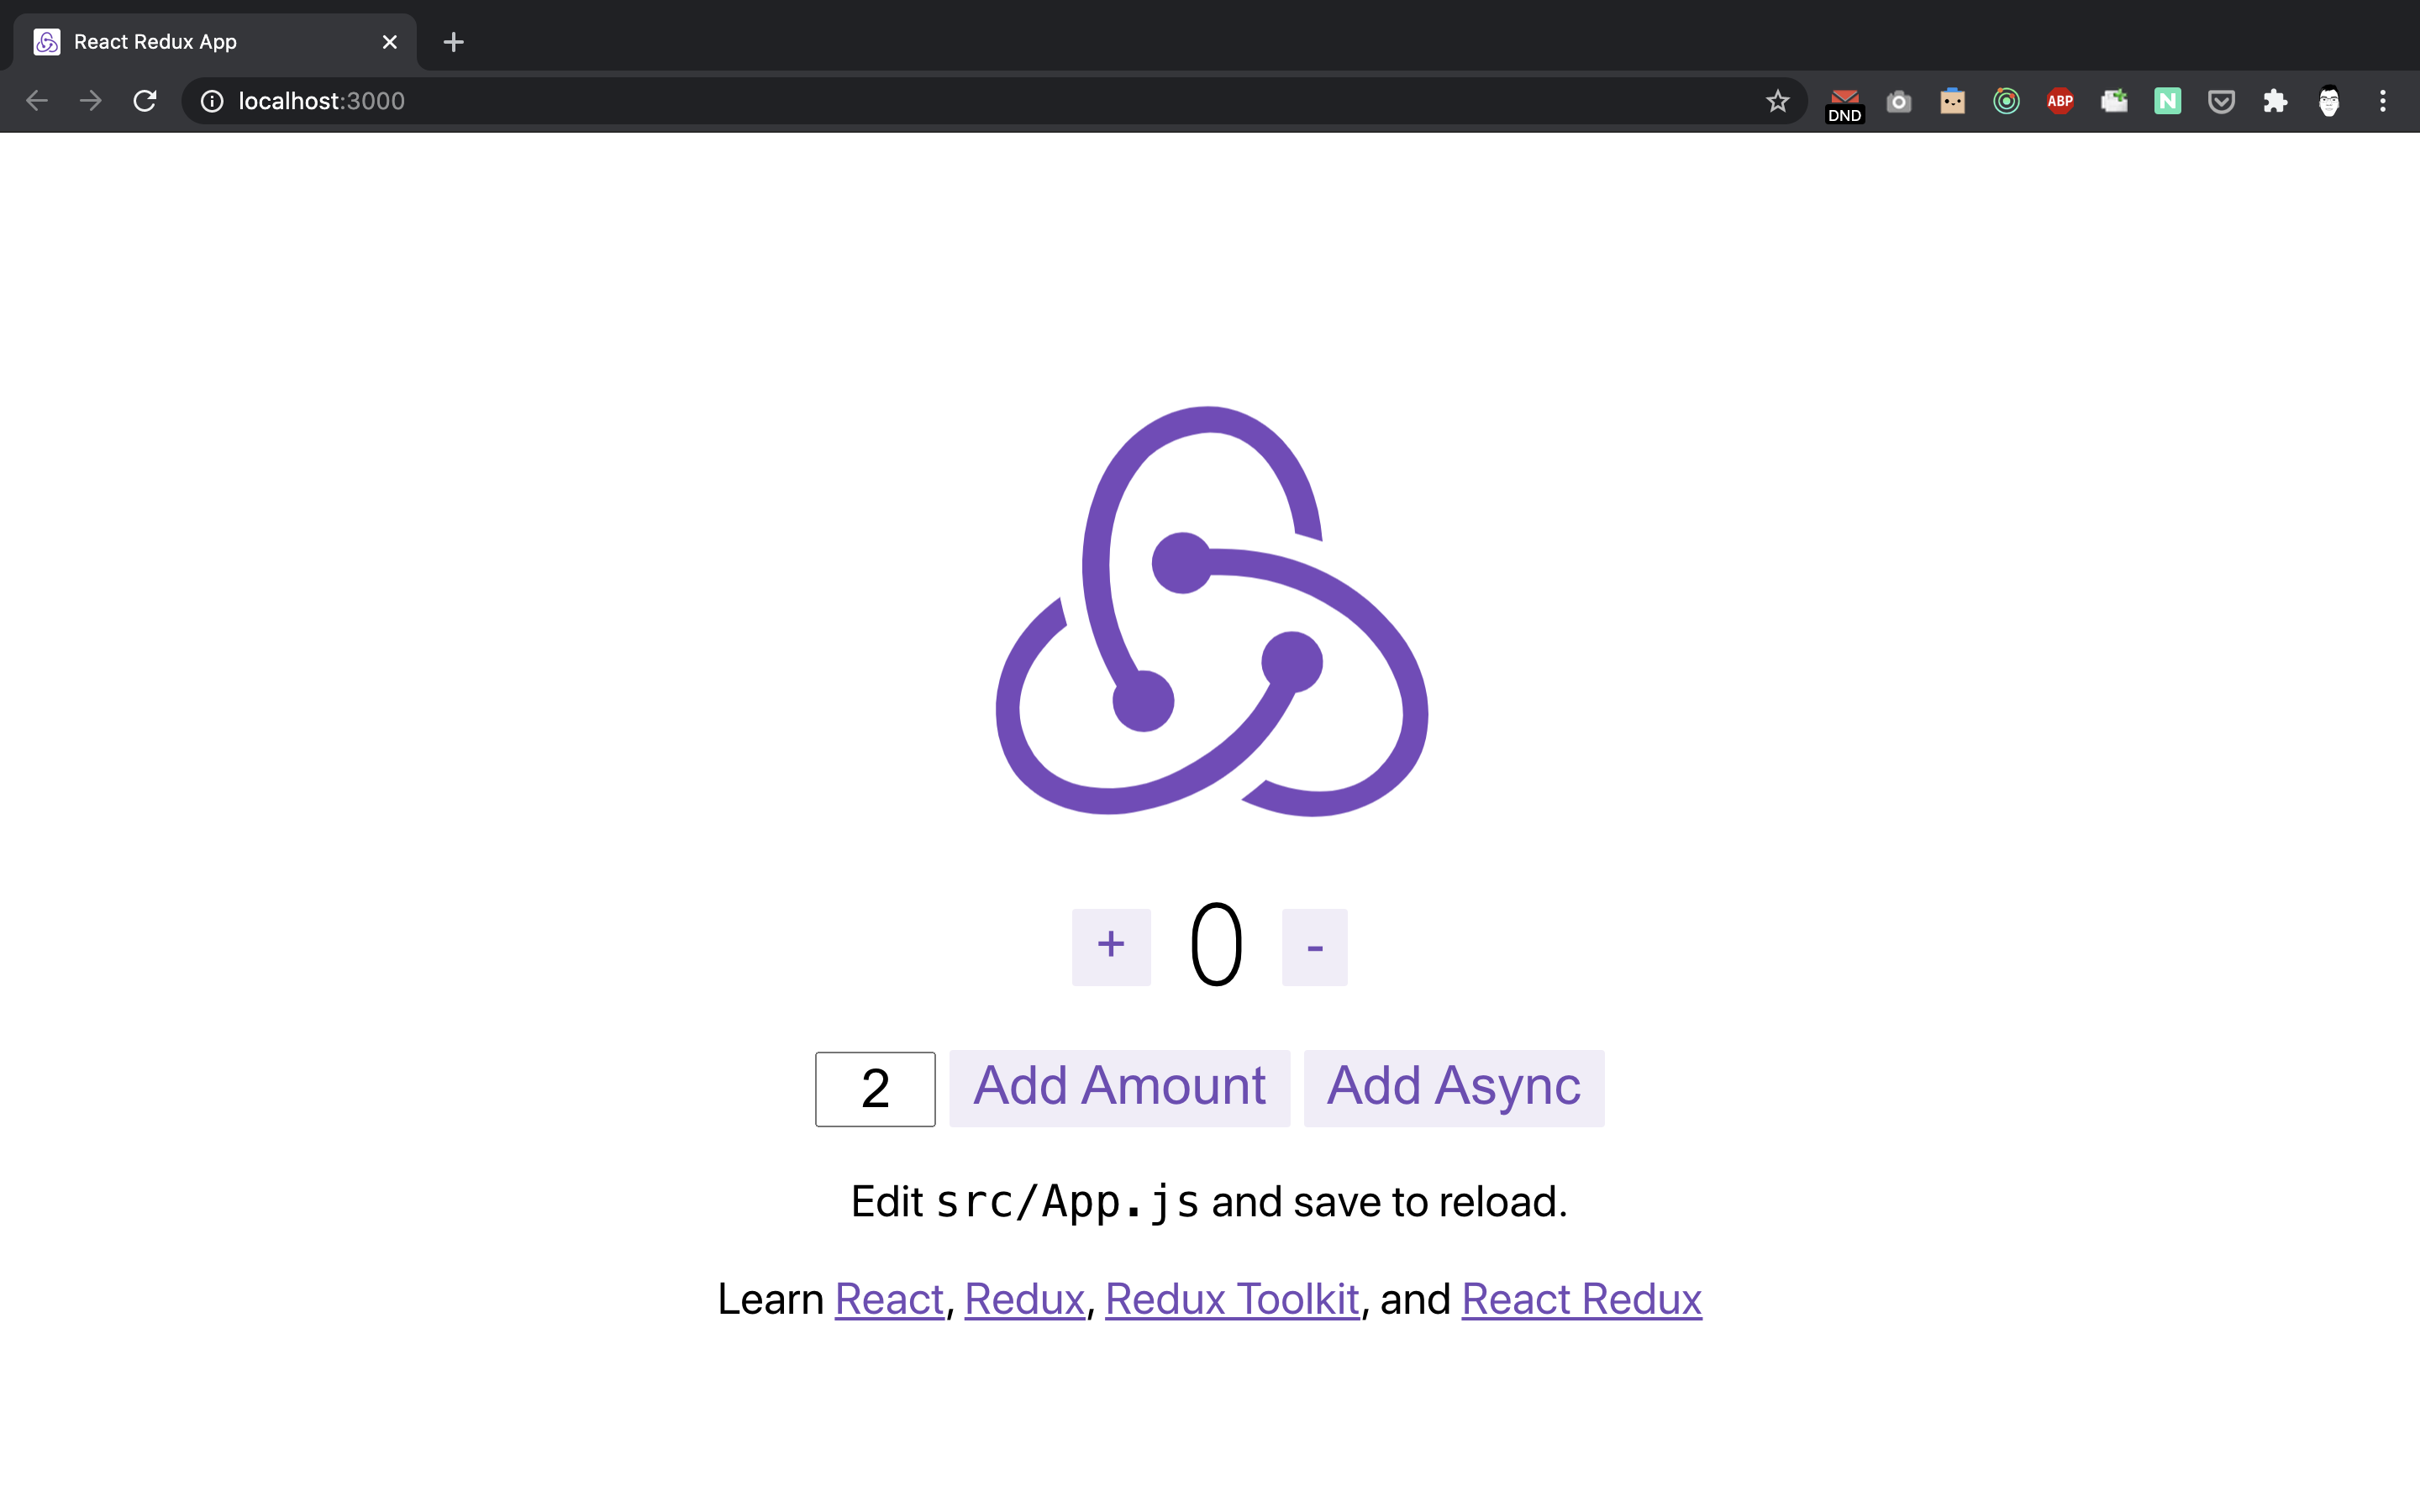
Generated application and file structure
We just genereated our create-react-app and we got this file structure as an output.
├── README.md
├── node_modules
├── package.json
├── public
├── src
└── yarn.lock
We are interested in /src/app folder where we can find store.js file.
src
├── App.css
├── App.js
├── App.test.js
├── app
│   └── store.js
├── features
│   └── counter
│       ├── Counter.js
│       ├── Counter.module.css
│       └── counterSlice.js
├── index.css
├── index.js
├── logo.svg
├── serviceWorker.js
└── setupTests.js
Now, let's have a quick look at src/app/store.js and src/index.js files. These are 2 files where we will do all of the required changes.
import { configureStore } from '@reduxjs/toolkit';
import counterReducer from '../features/counter/counterSlice';

export default configureStore({
  reducer: {
    counter: counterReducer,
  },
});
// ...
import store from './app/store';
import { Provider } from 'react-redux';
ReactDOM.render(
<React.StrictMode>
<Provider store={store}>
<App />
</Provider>
</React.StrictMode>,
document.getElementById('root')
);
// ...Implementation
First of all, let's add redux-persist as a package (we will need it later) and run the application in development mode.
yarn add redux-persist

yarn start
Now, we should be up and running, and we should see our counter example application. You can test out the application to see how it works and then hit the page refresh button. Then the state is refreshed back to the normal and you should see 0 counts on the screen. But we want to keep it persistent, right? That's where redux-persist steps in!
Persistable state
Now let's do some changes to the following files.
The general idea is that on line 18 in src/app/store.js you can define, which reducers you want to make persistent. You need to carefully decide how many levels of state you want to "merge". The default is 1 level. More information - state reconciler docs.
import { configureStore } from '@reduxjs/toolkit';
import storage from 'redux-persist/lib/storage';
import { combineReducers } from 'redux';
import { persistReducer } from 'redux-persist';
import thunk from 'redux-thunk';

import counterReducer from '../features/counter/counterSlice';

const reducers = combineReducers({
  counter: counterReducer,
});

const persistConfig = {
  key: 'root',
  storage,
};

const persistedReducer = persistReducer(persistConfig, reducers);

const store = configureStore({
  reducer: persistedReducer,
  devTools: process.env.NODE_ENV !== 'production',
  middleware: [thunk],
});

export default store;
Here we add persistStore and PersistGate. PersistGate delays the rendering of your app's UI until your persisted state has been retrieved and saved to redux.
// ...

import { PersistGate } from 'redux-persist/integration/react';
import { persistStore } from 'redux-persist';

let persistor = persistStore(store);

ReactDOM.render(
  <React.StrictMode>
    <Provider store={store}>
      <PersistGate loading={null} persistor={persistor}>
        <App />
      </PersistGate>
    </Provider>
  </React.StrictMode>,
  document.getElementById('root')
);

// ...
Now it's time to test our application! Try to increase or decrease the amount and then hit page refresh as well as open your developer console and check the local storage setting, where you should see the amount value in it.
Blacklist and whitelist
To prevent any performance issues, you can decide which parts of the state you want to persist. Take a look at the example below, and amend persistConfig in src/app/store.js as per your needs.
// blacklist
const persistConfig = {
  key: 'root',
  storage: storage,
  blacklist: ['navigation'], // navigation will not be persisted
};

// whitelist
const persistConfig = {
  key: 'root',
  storage: storage,
  whitelist: ['navigation'], // only navigation will be persisted
};
Appendix
To simplify things, I've added the code above into repository, which you can use as a starter template. Additionally, I've deployed it to Netlify so you could see it in action.